 Login with Facebook

AVR Studio 4 Installation Guide
AVR Studio is an Integrated Development Environment (IDE) for writing and debugging AVR Applications in Windows 9x/ME/NT/2000/XP/VISTA/7/8 Environments. AVR Studio provides a project management tool, source file editor, simulator, assembler and front-end for C/C++, programming, emulation and on-chip debugging.
AVR Studio supports the complete range of ATMEL AVR tools and each release will always contain the latest updates for both the tools and support of new AVR devices.
AVR Studio 4 has a modular architecture, which allows even more interaction with 3rd party software vendors. GUI plugins and other modules can be written and hooked to the system.
Operating Systems Supported
Window 98
Window NT
Window XP
Window Vista
Window 7(32-Bit)
Window 7(64-Bit)
Windows 8
Hardware Requirement
Intel Pentium 200MHz processor or equivalent
1024×768 screen (minimum 800×600 screen)
256 MB memory
100 MB free hard disk space
We always recommend having the latest OS versions and service packs installed. We also recommend Internet Explorer 6 or later.
Installation Process
Installation Process
The step-by-step Installation Process for AVR Studio 4 Installation Guide is as follows:
-
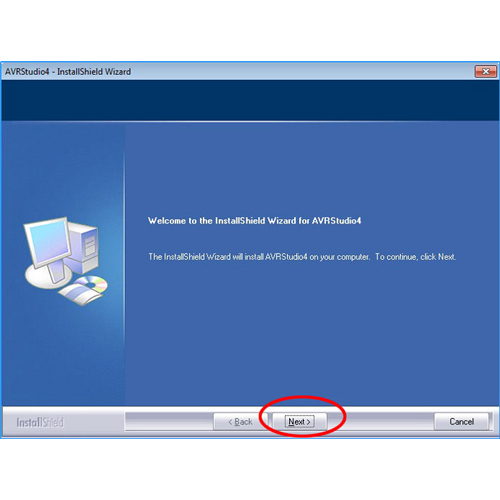
Go to the folder location where the AVR Studio 4 installation file is located. Double Click the file and a setup dialog box opens which is shown in the below picture.:
-
Click “Next” button to continue with the installation. The below picture shows the next dialog box::

-
Check the “I accept the terms of the license agreement” radio button and Click “Next” button to continue with the Installation. The below picture shows the next dialog box::
-
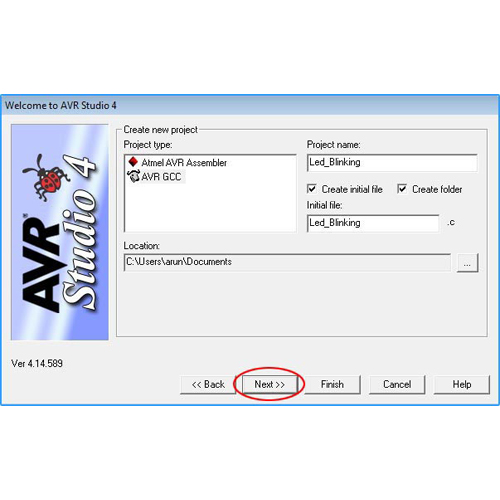
Click “Next” button to continue with the installation. The below picture shows the next dialog box::
-
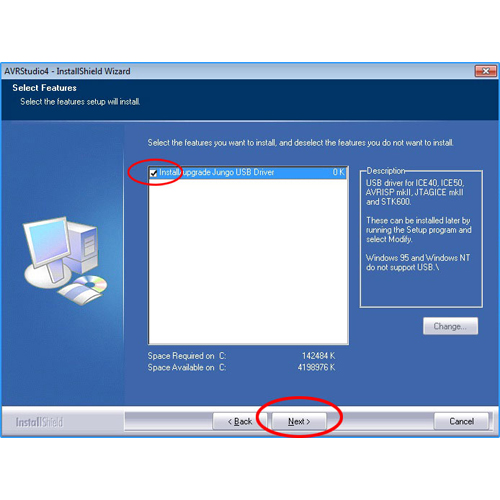
Check the “Install/upgrade Jungo USB Driver” check box to install Jungo USB driver and Click “Next” button to continue with the installation. The below picture shows the next dialog box::
-
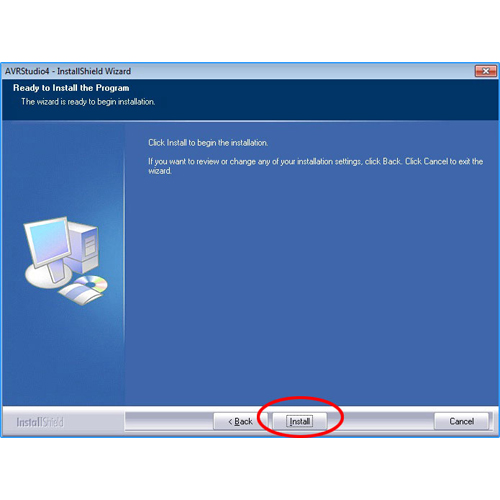
Click “Install” button to start the final step of AVR Studio 4 installation. The below picture shows the next dialog box::
-
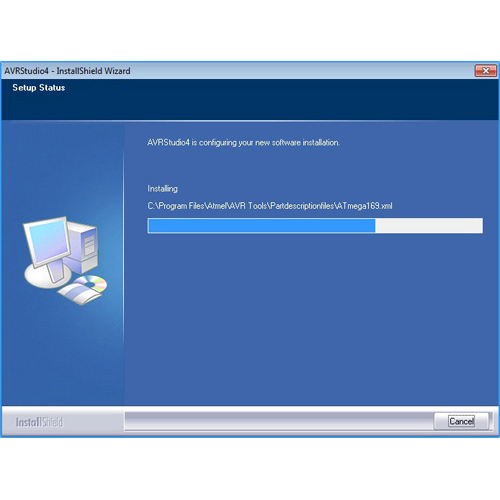
The Installation will take some minutes. Wait for the next dialog box to come up. The below pictures shows the dialog box when the installation completes.:


Post a Comment